
Use the xysq MCP server with Claude Desktop so Claude can call xysq tools for memory and identity-aware context.Documentation Index
Fetch the complete documentation index at: https://docs.xysq.ai/llms.txt
Use this file to discover all available pages before exploring further.
Before You Connect
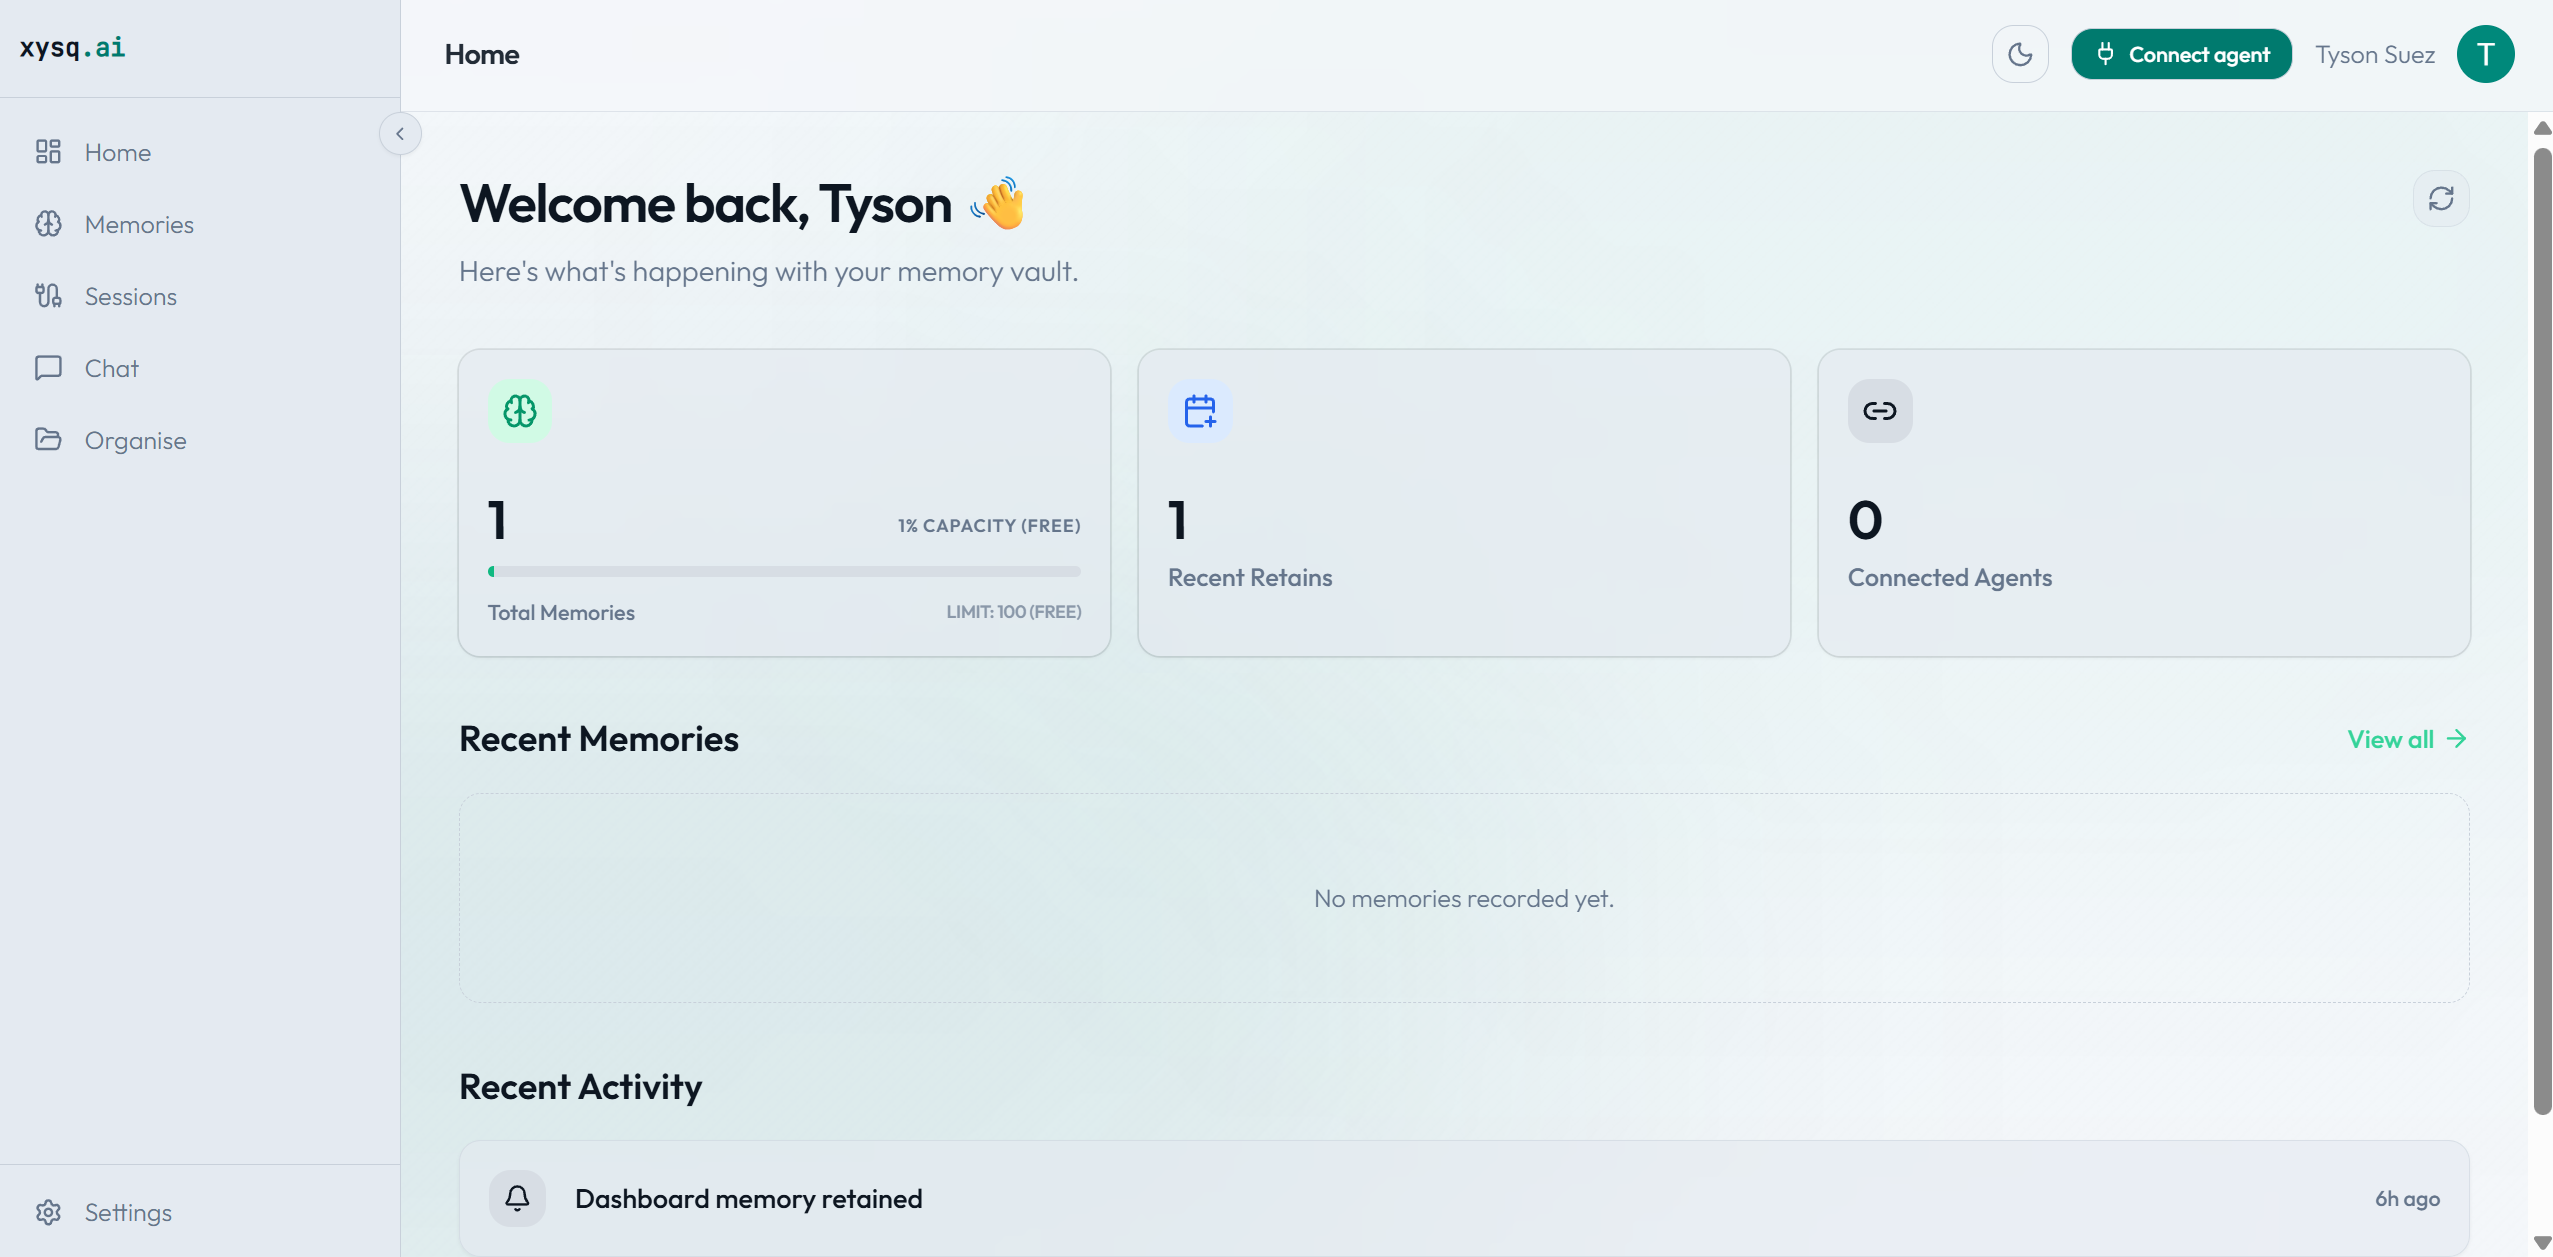
Sign in to your xysq account at app.xysq.ai.
Step 1 - Get Your Credentials
- After logging in, click the Connect Agent button.
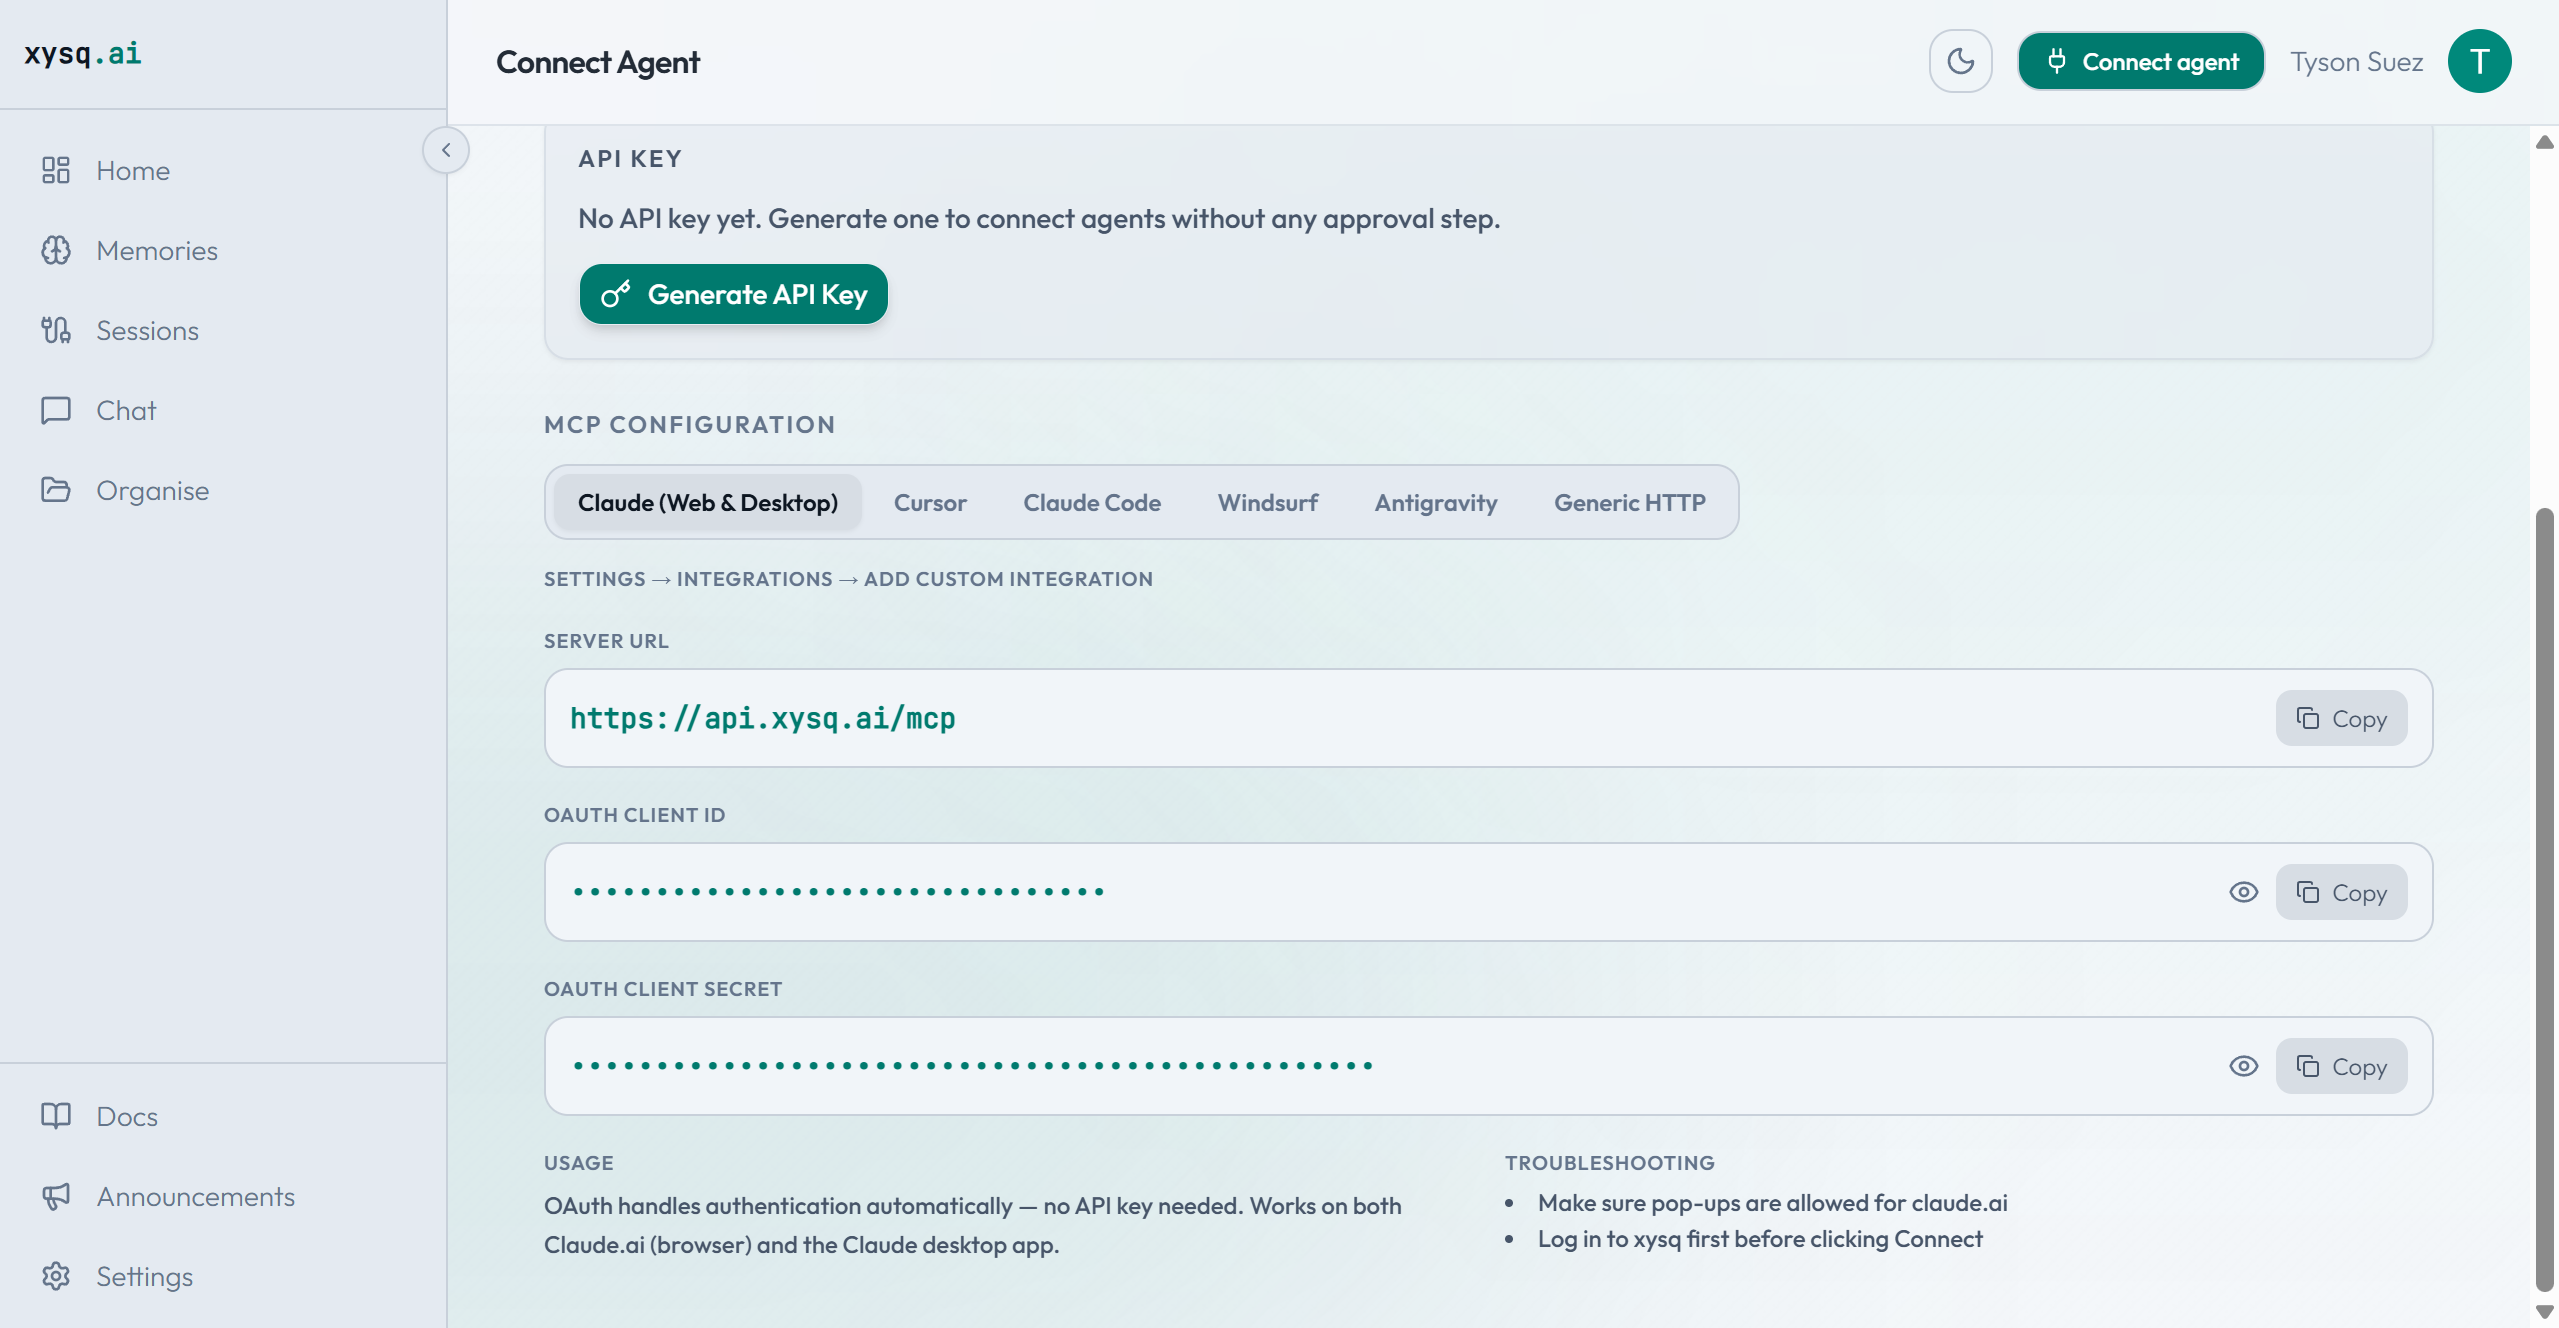
- Select the Claude tab.
-
Copy all three credentials shown:
- MCP Server URL:
https://api.xysq.ai/mcp - OAuth Client ID
- OAuth Client Secret
- MCP Server URL:
Step 2 - Add the Connector in Claude Desktop
- Open Claude Desktop (or go to claude.ai).
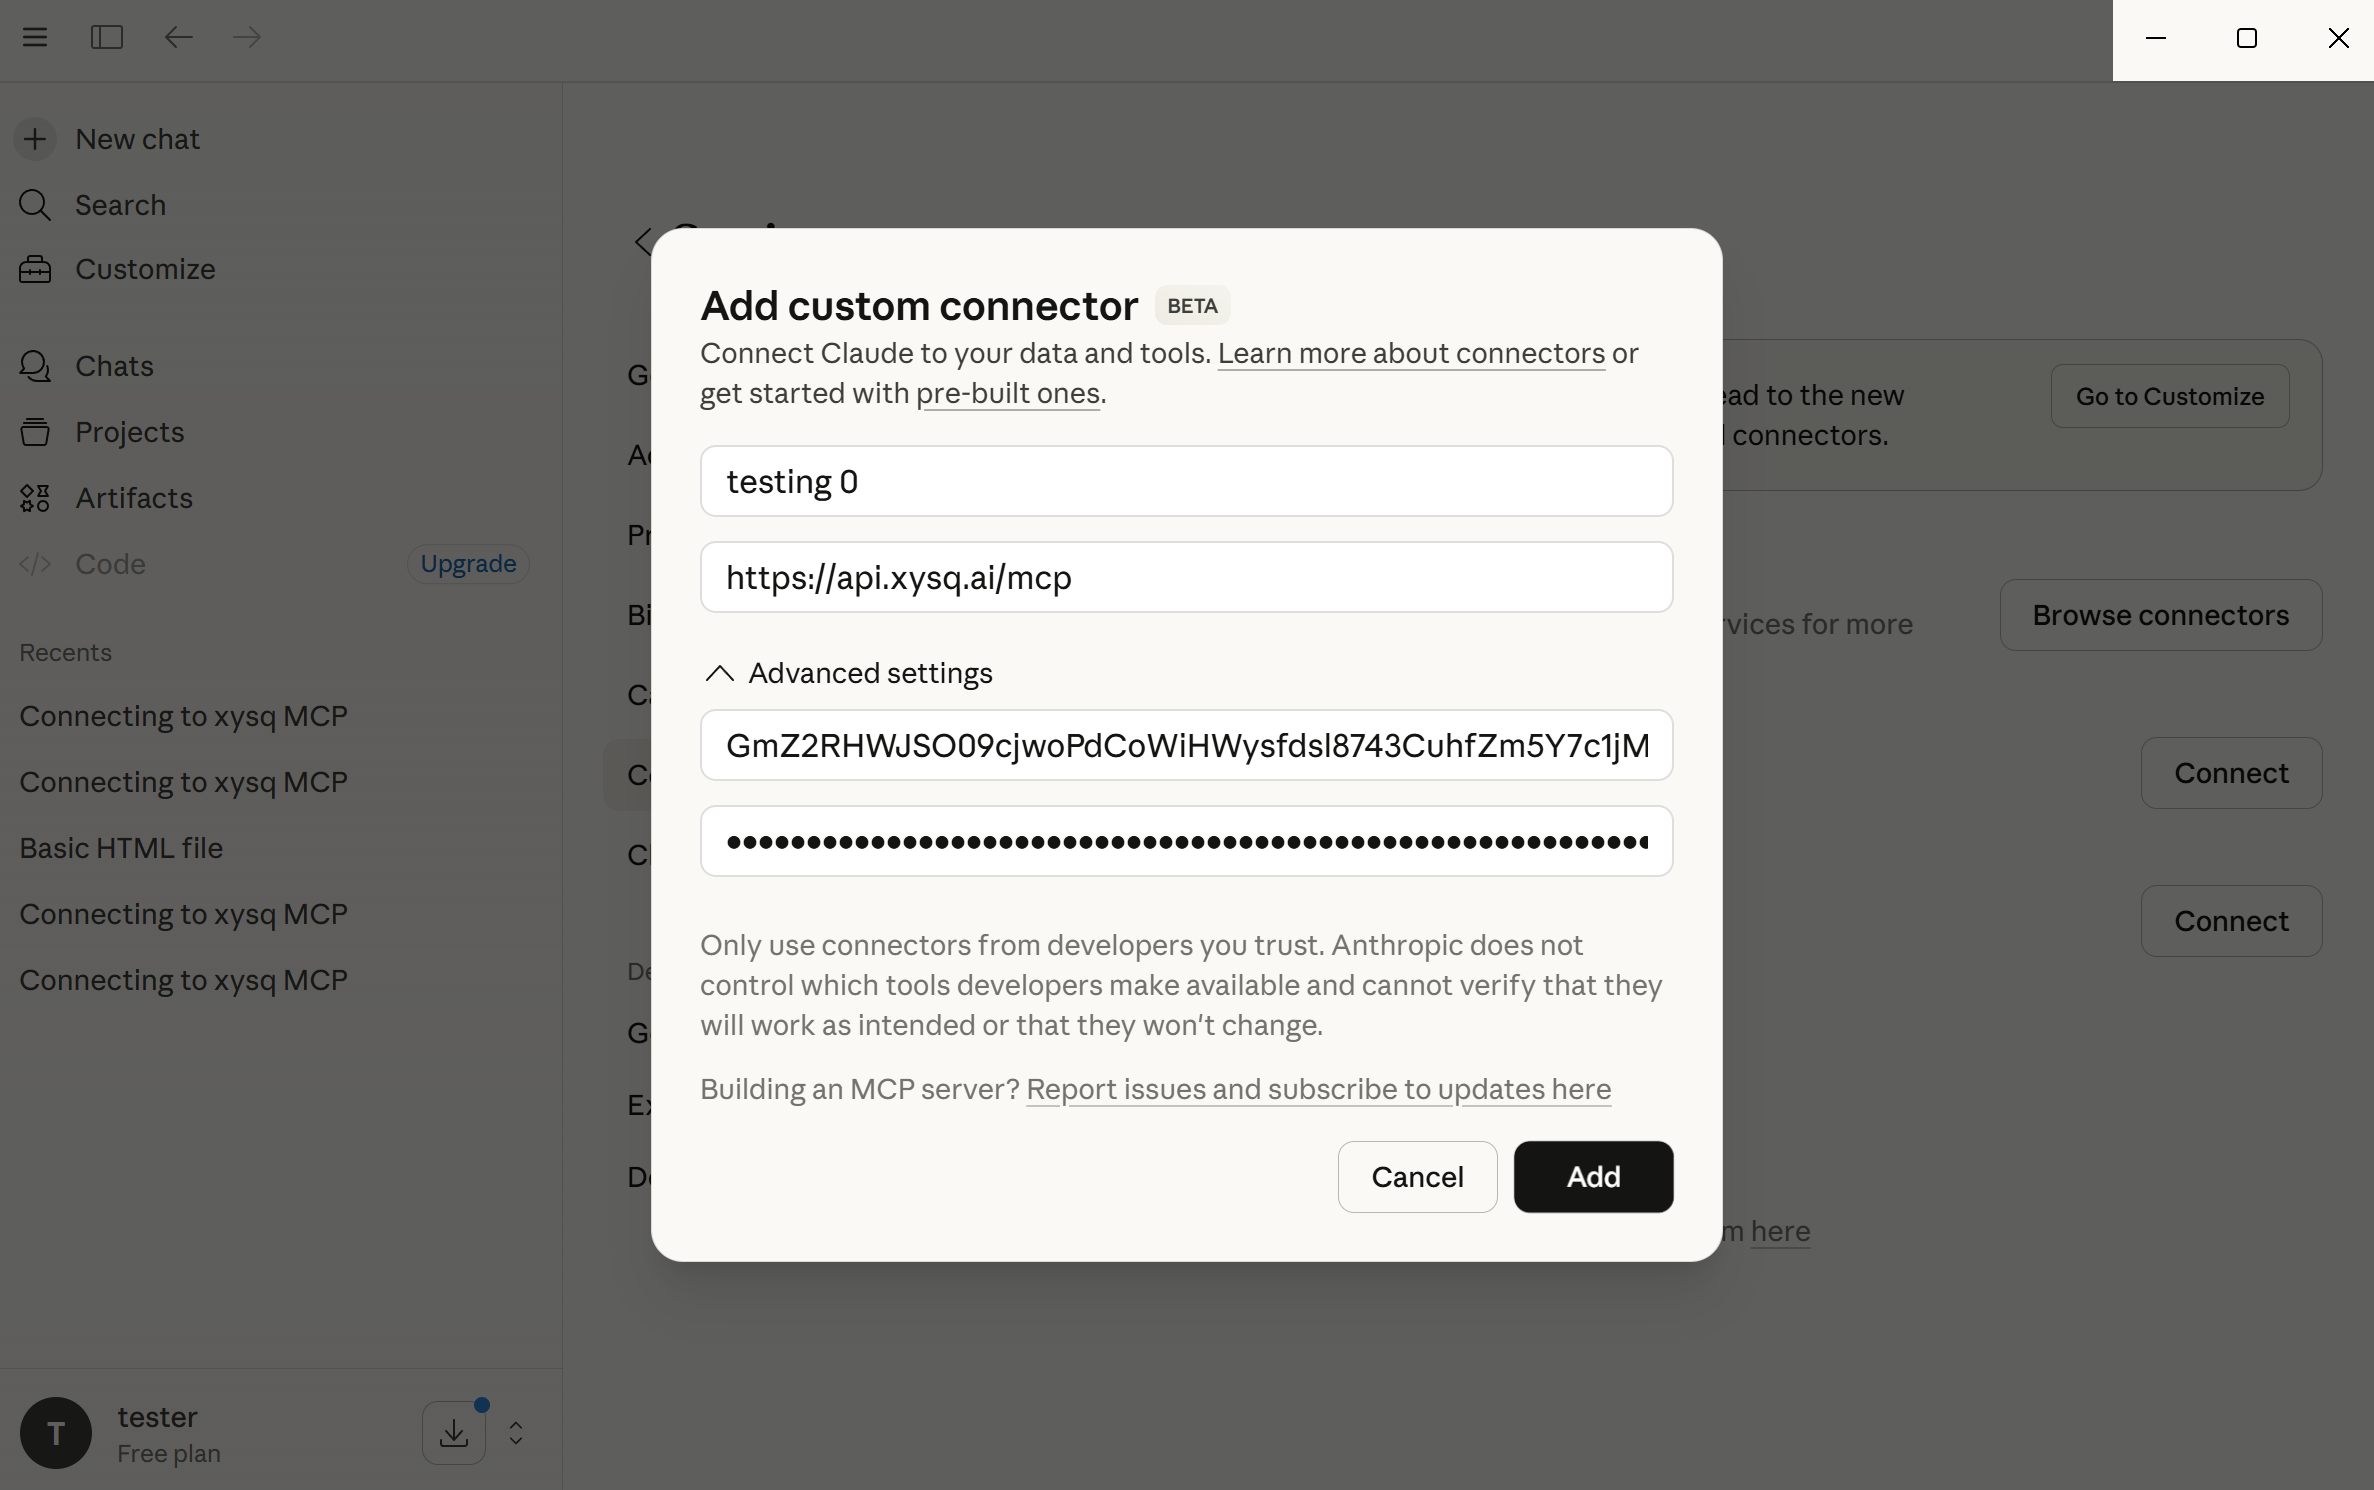
- Go to Settings → Connectors.
- Click Custom Connect.
- Fill in the fields:
- Name - any name you like (e.g.
xysq) - URL - paste your full MCP Server URL:
https://api.xysq.ai/mcp - OAuth Client ID - paste the Client ID you copied
- OAuth Client Secret - paste the Client Secret you copied
- Name - any name you like (e.g.
- Under permissions, set Configure: Allow All.
- Save the connector.
Step 3 - Connect from Claude
In any Claude conversation, type: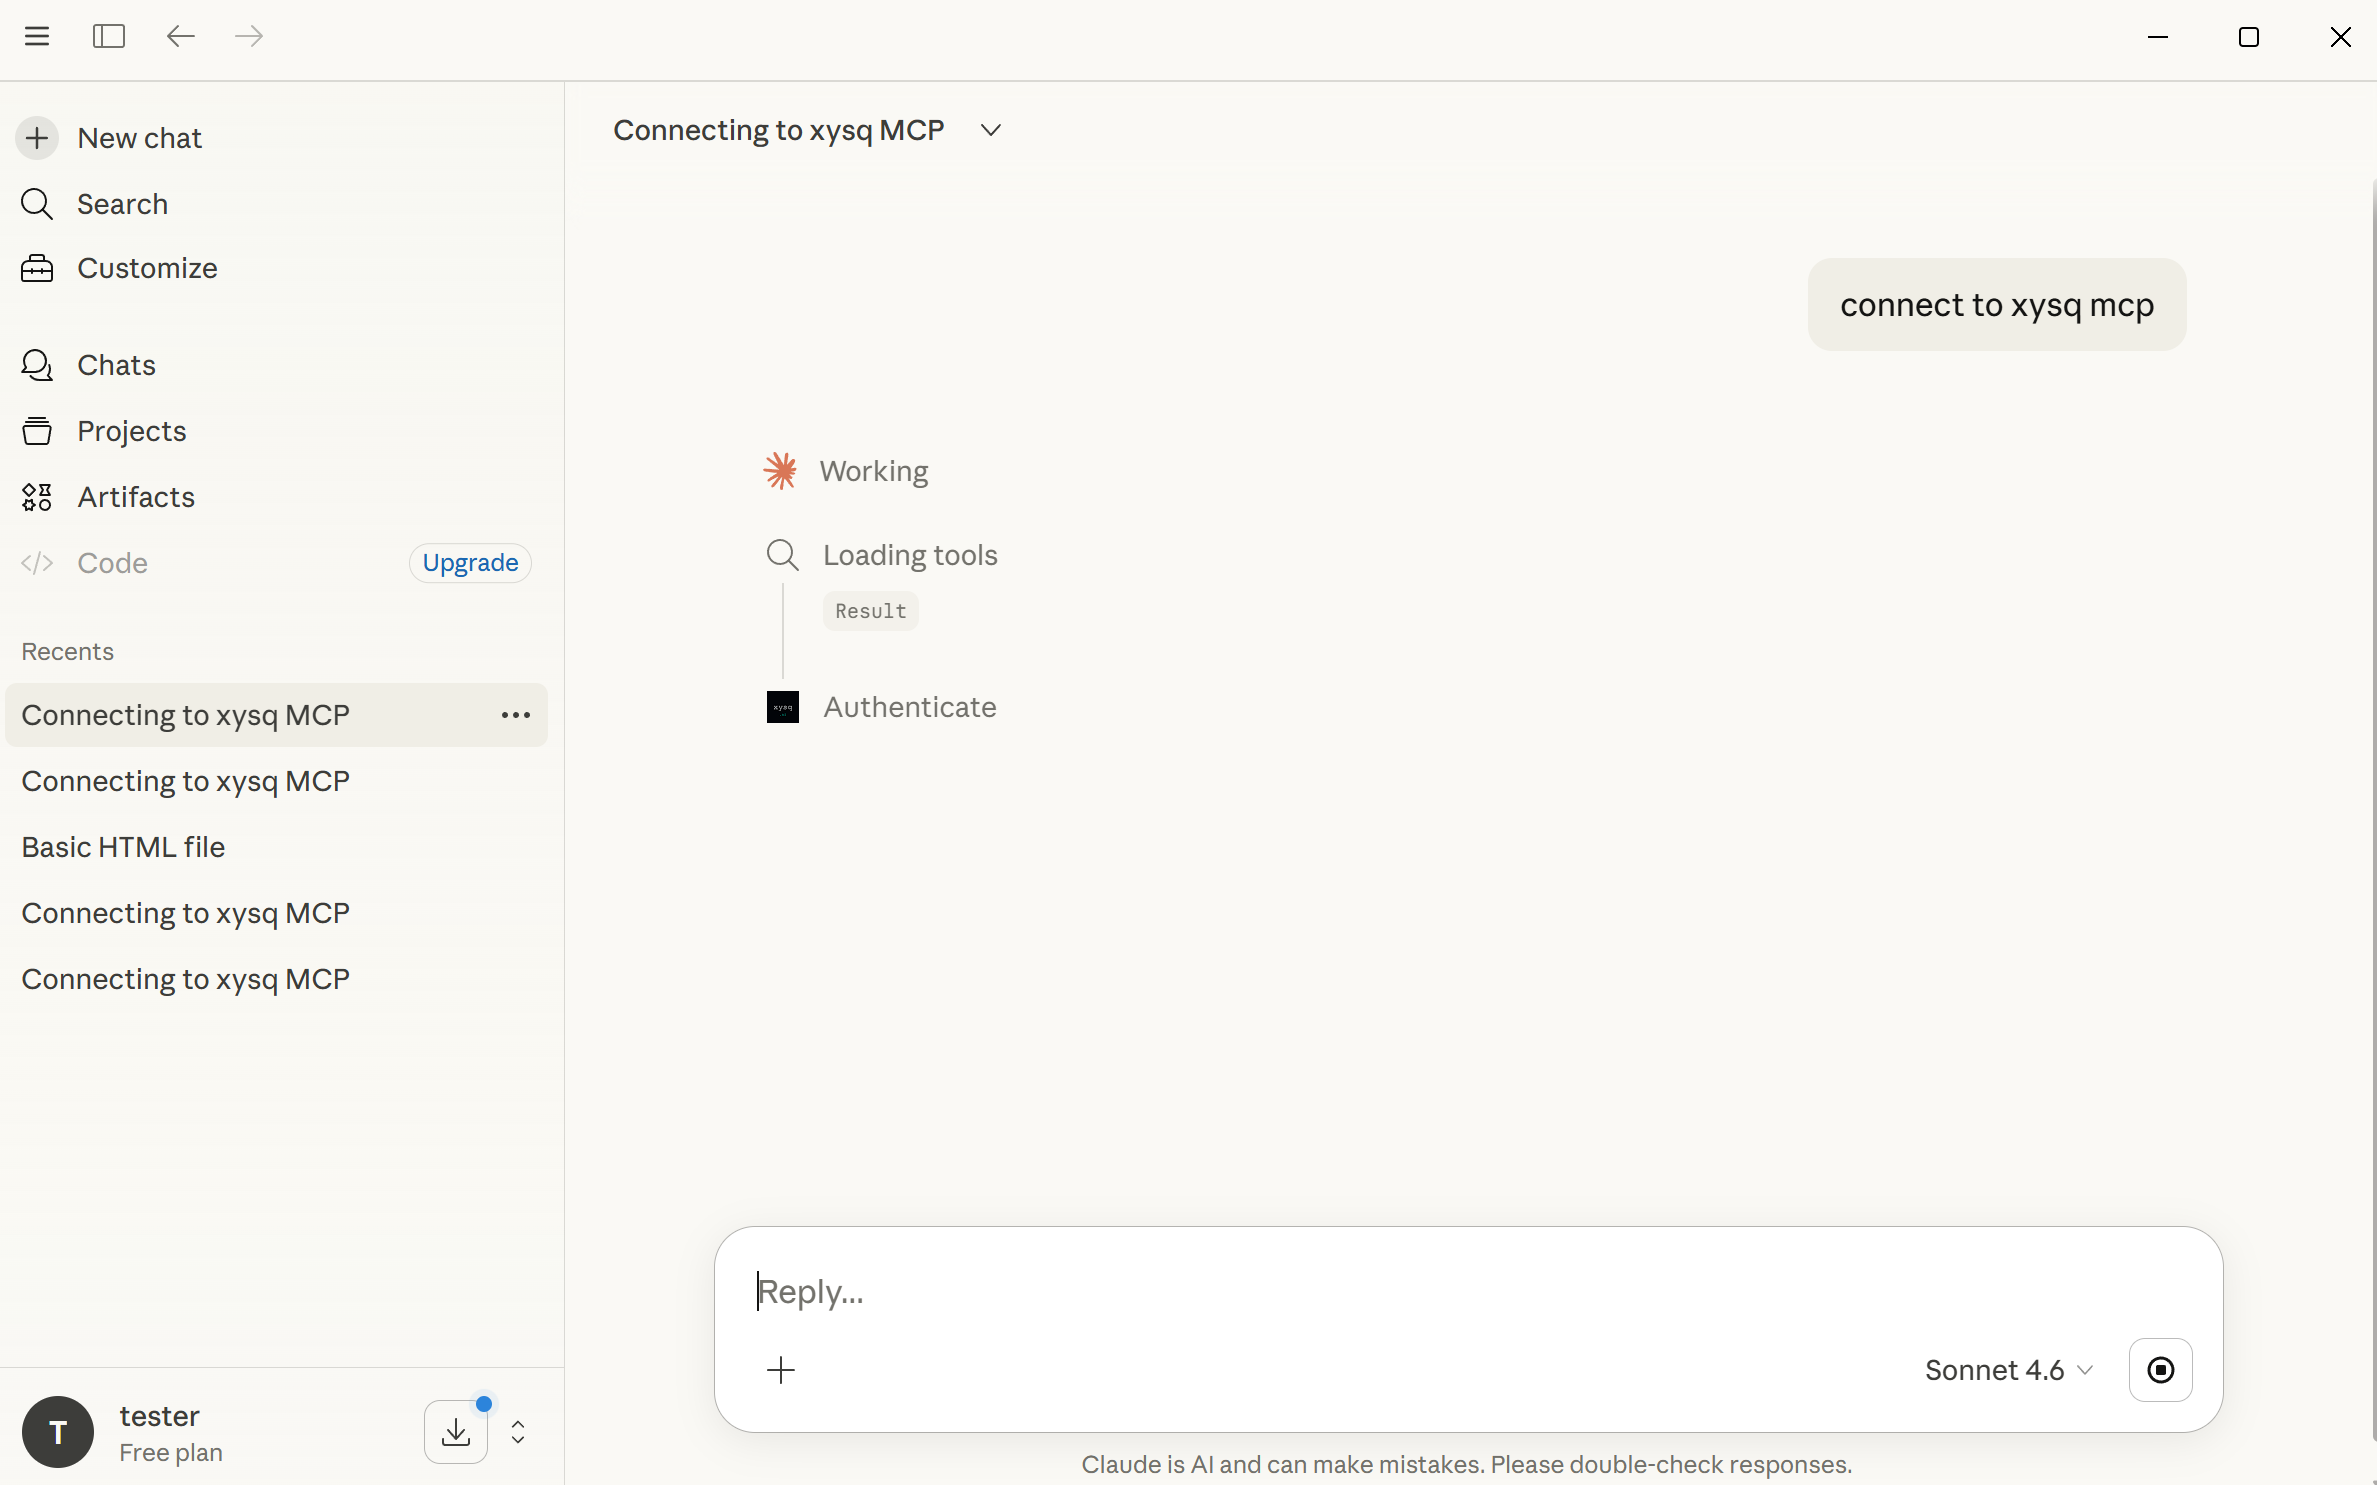
Pinning Claude to a team vault
The connector above gives Claude access to your personal vault. To dedicate a connector to a single team vault — for example, an “Acme Engineering” connector that can only touch that team’s memories — change the URL when adding the custom connector:List my xysq teams. from a personal connection.
On a team-pinned connection:
- Every memory action routes to that team’s vault — no need to mention the team in your prompts.
- Personal-vault writes and reads are blocked; nothing said in this Claude conversation can leak into your personal memories.
- Personal tools like
memory_tags,skill_sync, andlist_teamsare disabled. - Your role on the team determines what the agent can do (
roreads,rwwrites,admindeletes).
xysq-personal, xysq-acme, xysq-platform) to switch context cleanly between conversations.
Adding Memories
Once connected, you can ask Claude to remember anything for future sessions:Video Walkthrough
Troubleshooting
| Problem | Fix |
|---|---|
| MCP does not appear in Claude | Confirm your full MCP Server URL, OAuth Client ID, and OAuth Client Secret are correct and that you clicked Save. Fully quit and reopen Claude Desktop - MCP changes require a full restart. |
| Still old behavior after editing | Quit Claude completely (including from the menu bar / system tray), then reopen. A window close is not enough. |
| ”Connection refused” or network error | Check that your MCP URL https://api.xysq.ai/mcp is correct and accessible from your network. If you are on a VPN or corporate network, it may be blocked. |
| Enterprise or managed installs | Your IT team may restrict MCP or redirect config paths. Contact your administrator for the correct setup path. |
| Connector saves but Claude can’t reach xysq | Double-check that Configure: Allow All was selected and that your API key is correctly appended to the MCP Server URL. |
| Claude says “authentication required” when asked to connect to xysq | Go to Settings → Custom Connectors, find the xysq connector and click Disconnect, then click Connect — this will launch the OAuth flow. Accept the permissions and complete the flow. Once done, return to chat and ask Claude to connect to xysq again. |