Use the xysq MCP server in Cursor so your agent can authenticate to xysq and use memory tools (recall, retain, list, and related actions) from your editor.Documentation Index
Fetch the complete documentation index at: https://docs.xysq.ai/llms.txt
Use this file to discover all available pages before exploring further.
Before You Connect
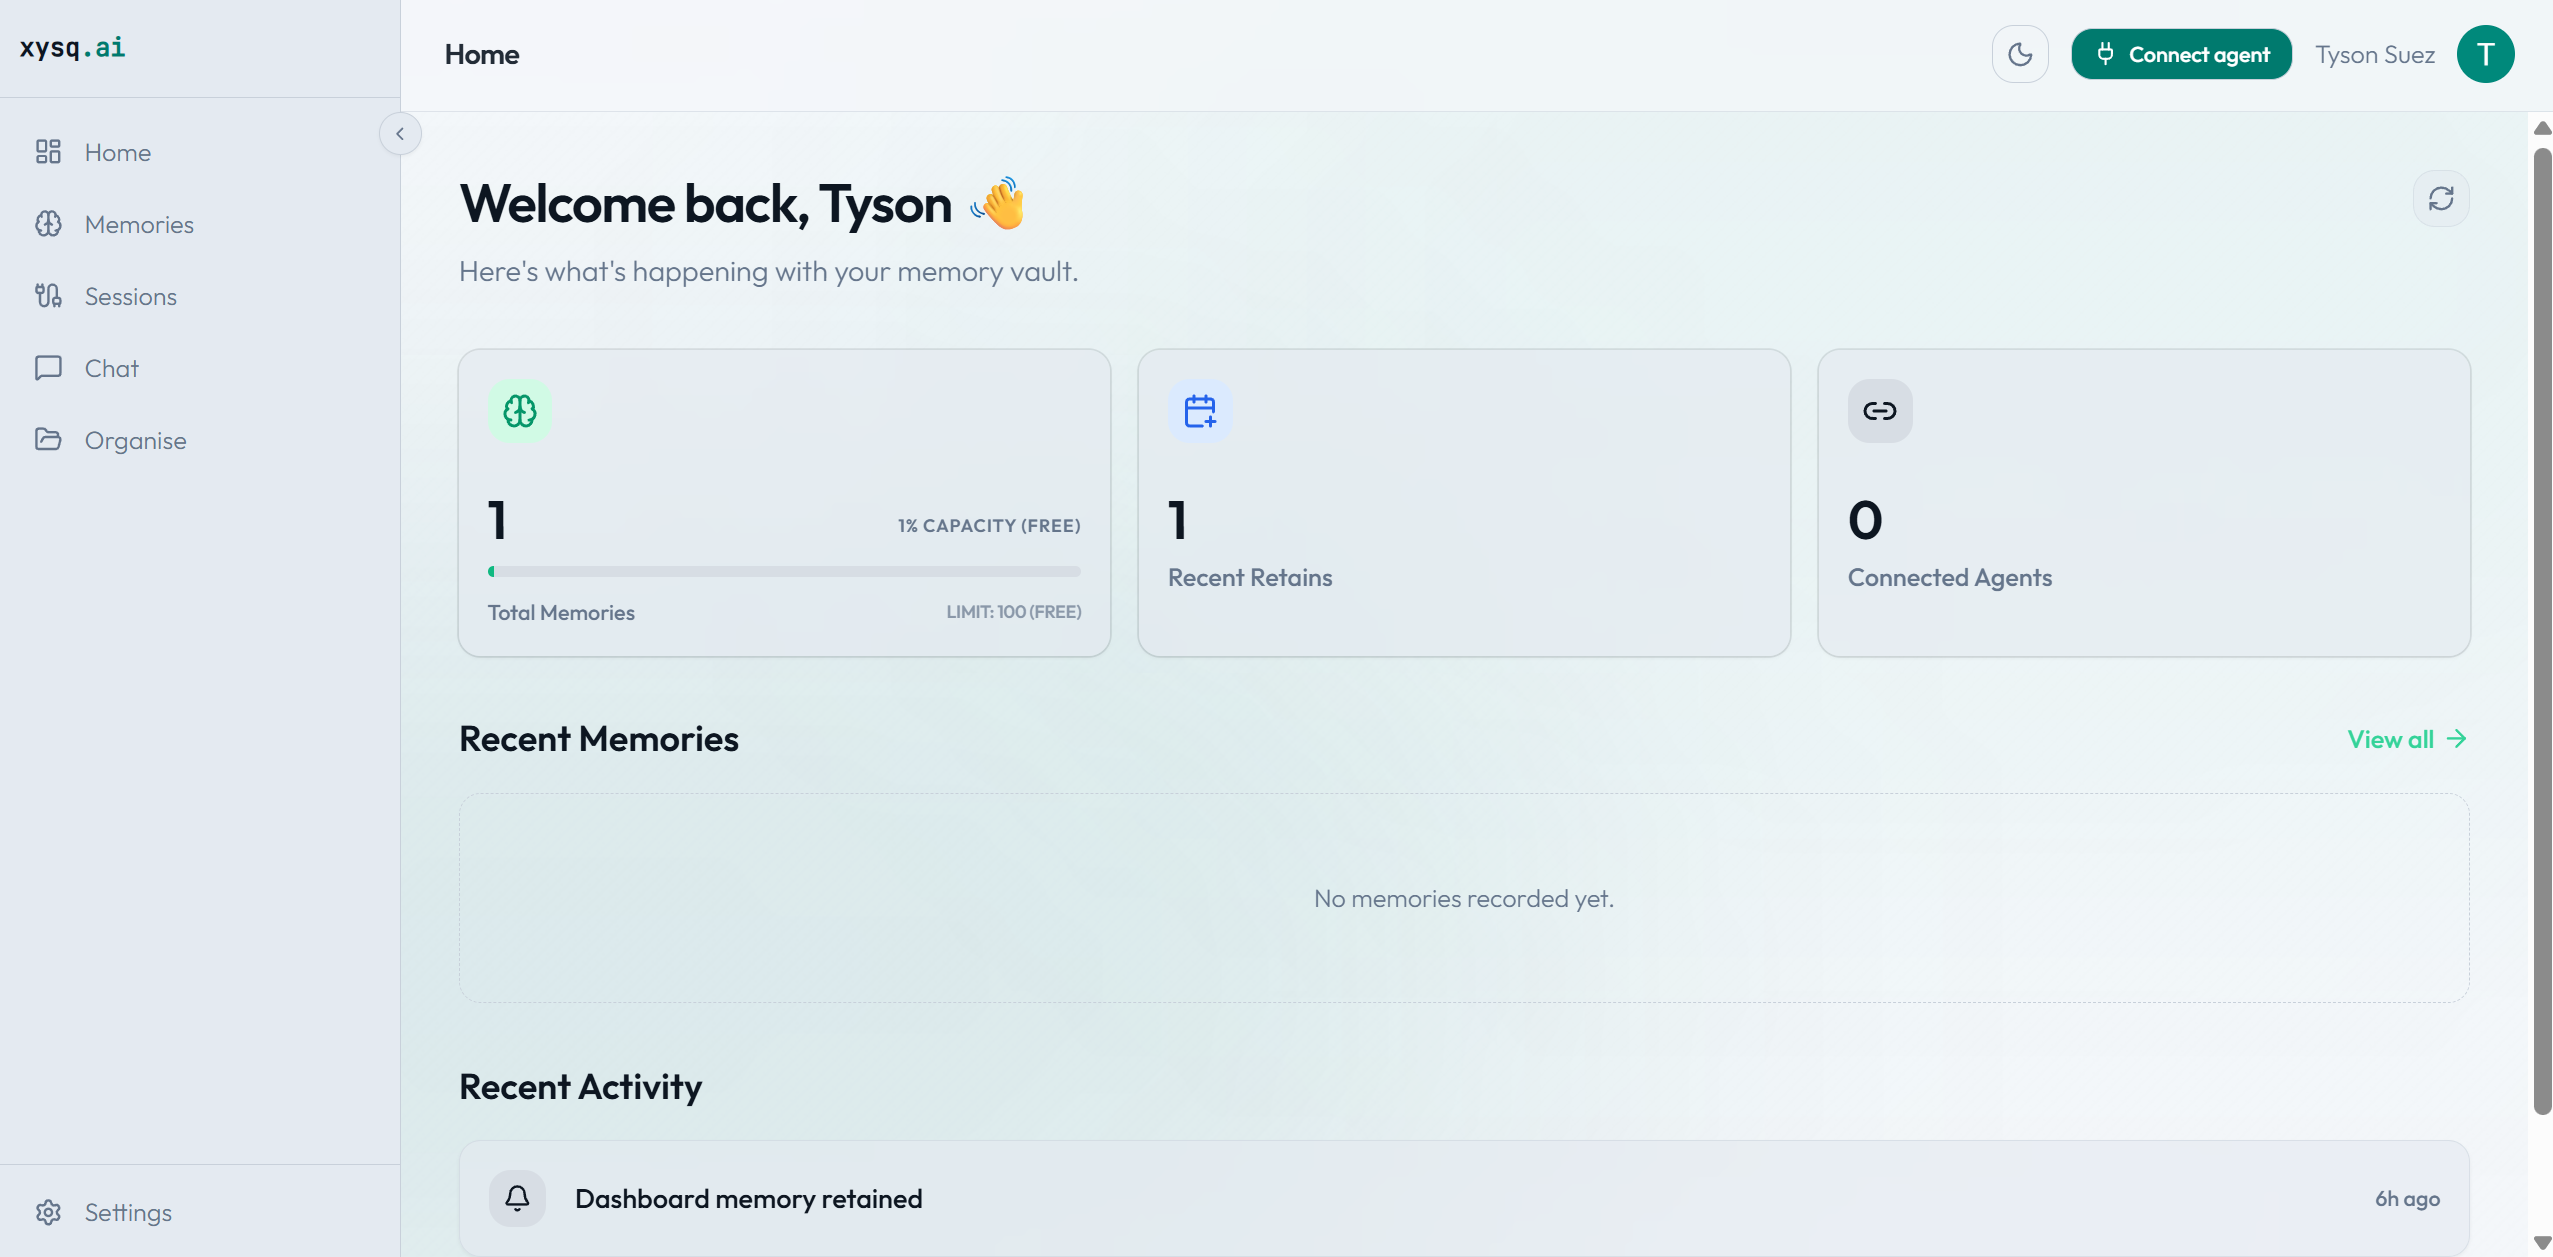
Sign in to your xysq account at app.xysq.ai.
Step 1 - Generate Your API Key
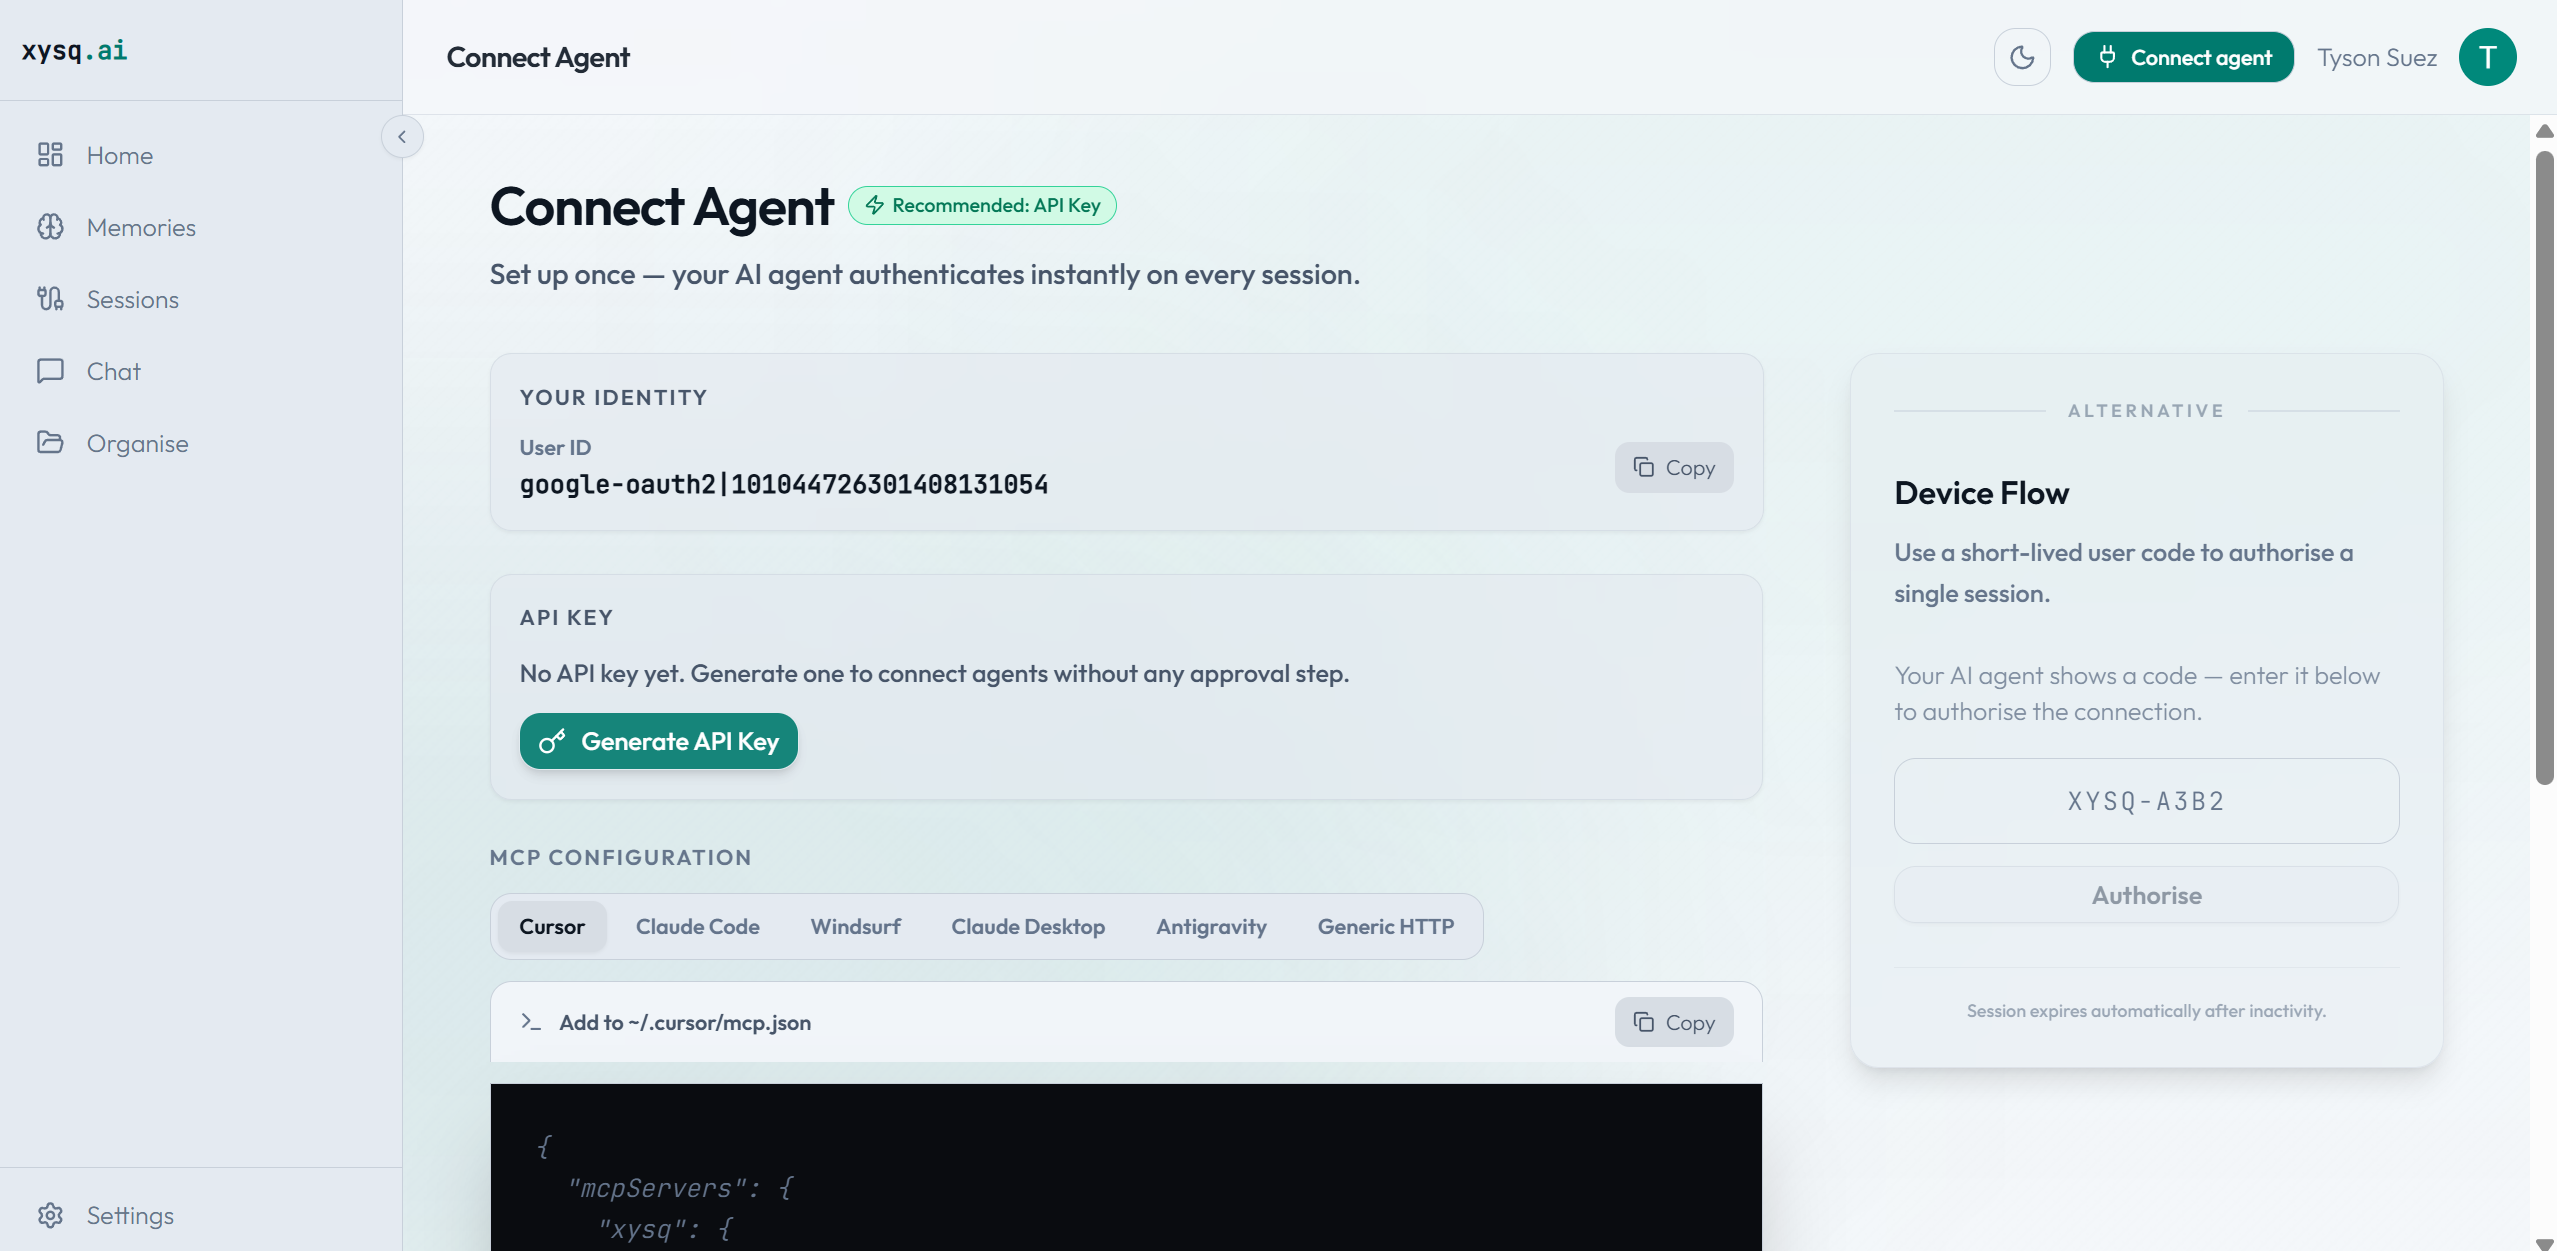
- After logging in, click the Connect Agent button.
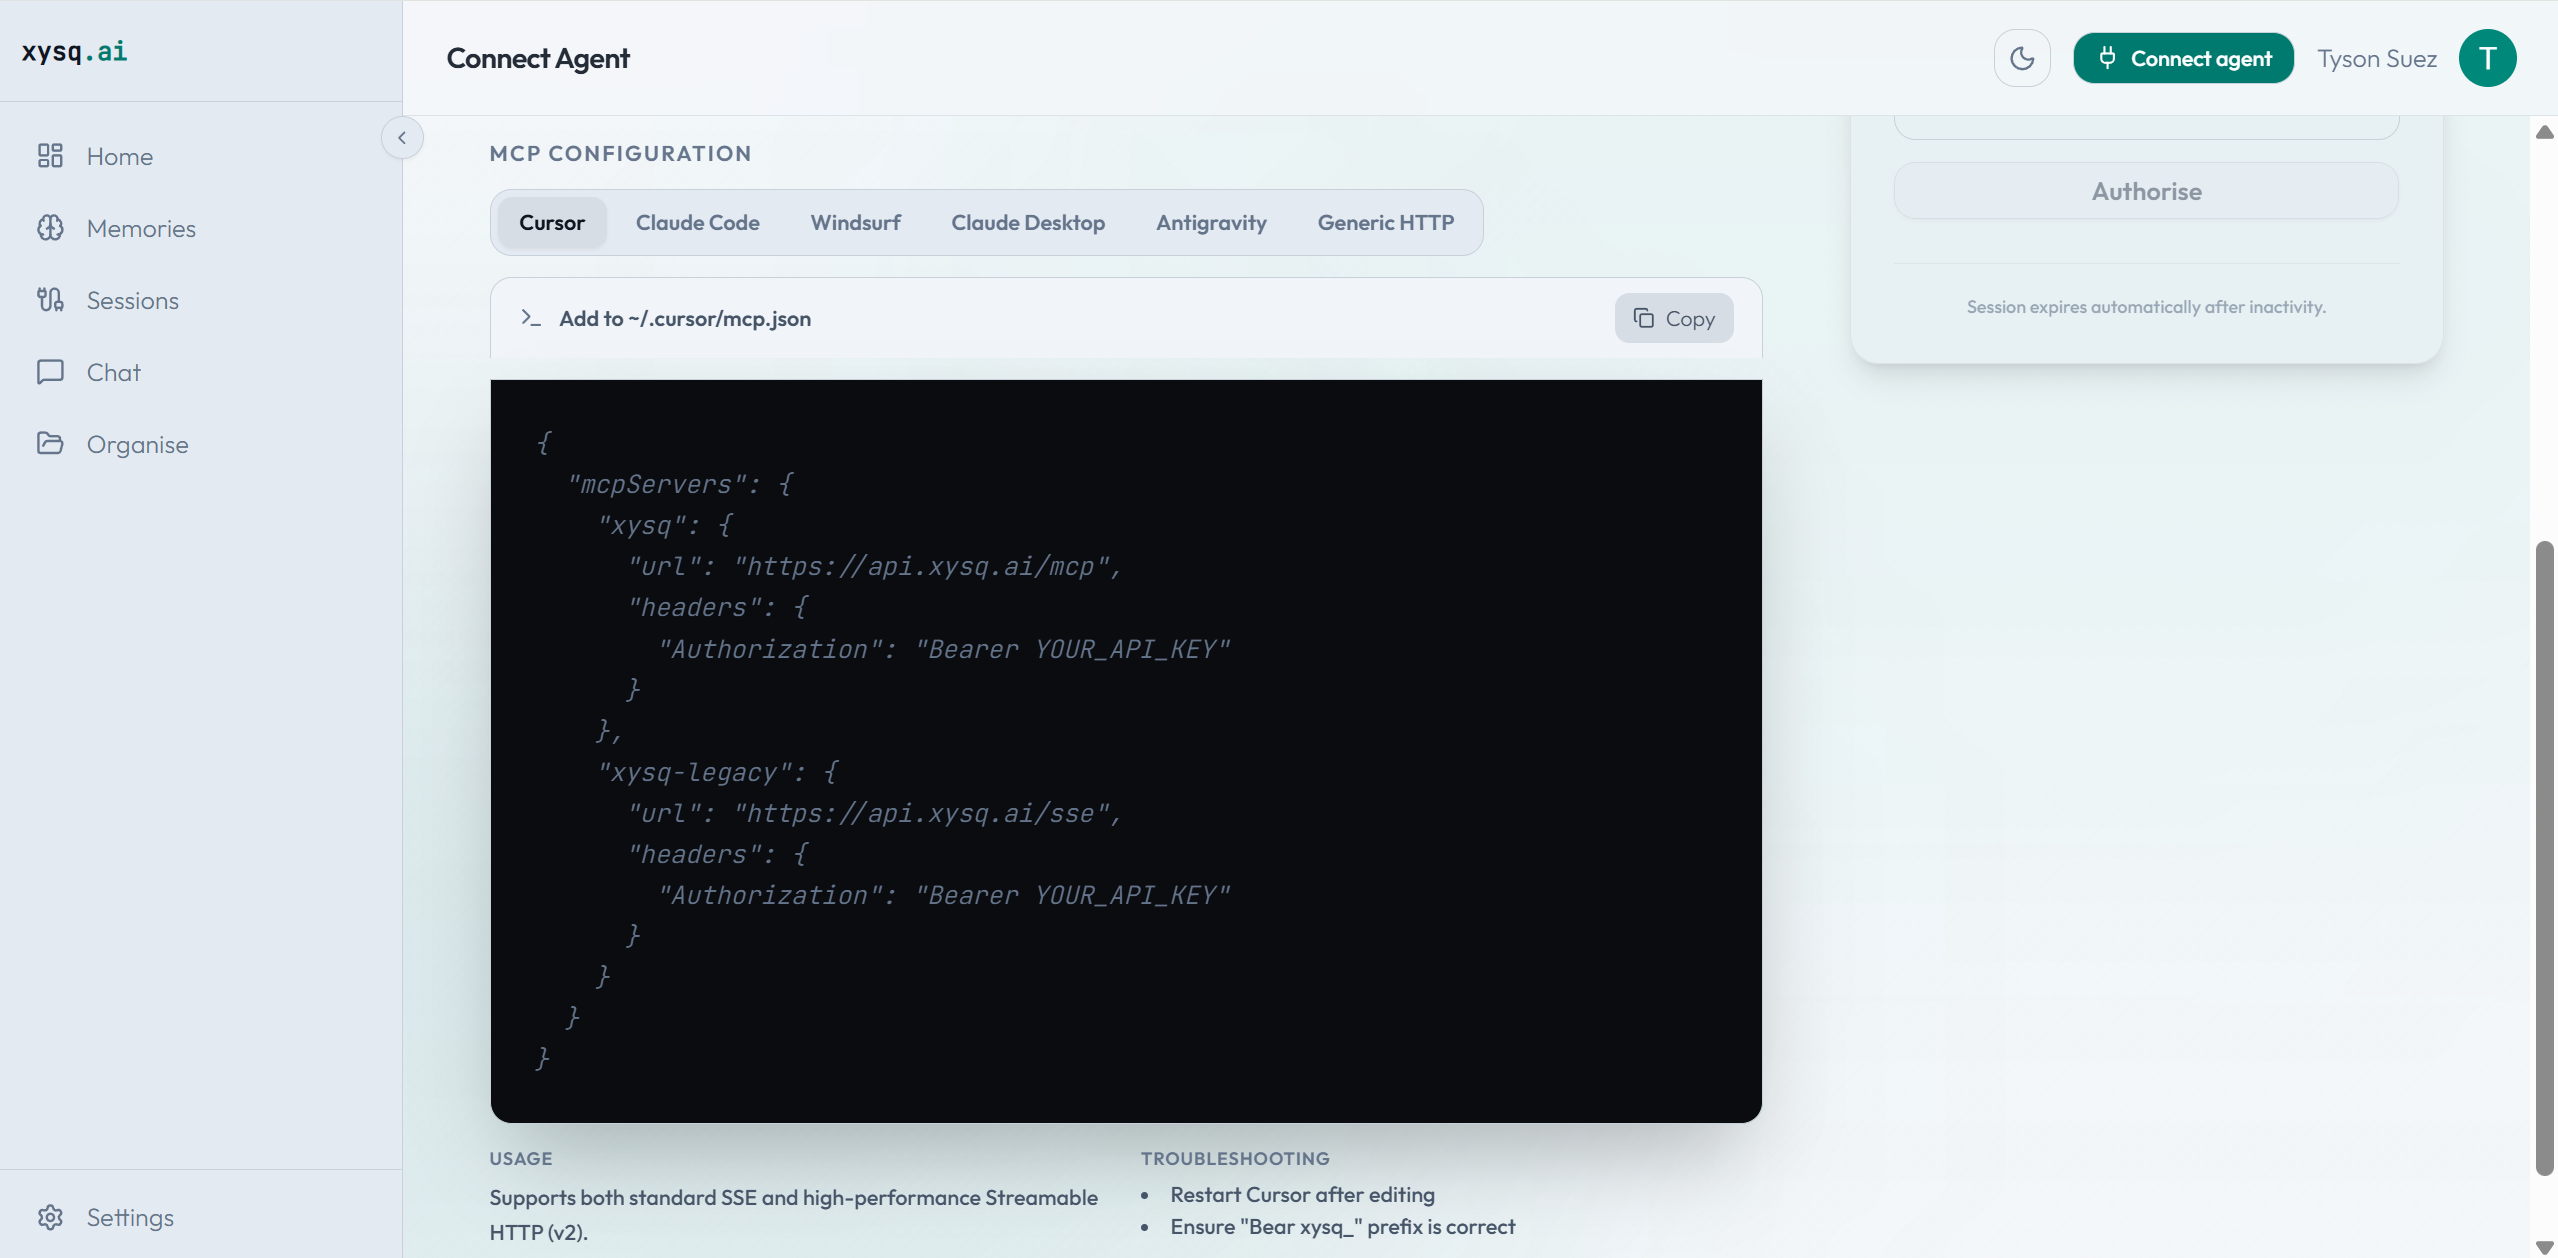
- Select the Cursor tab.
- Click Generate API Key - your key will be created automatically.
Step 2 - Copy the MCP Schema
Copy the generated MCP configuration schema:Step 3 - Add to Cursor
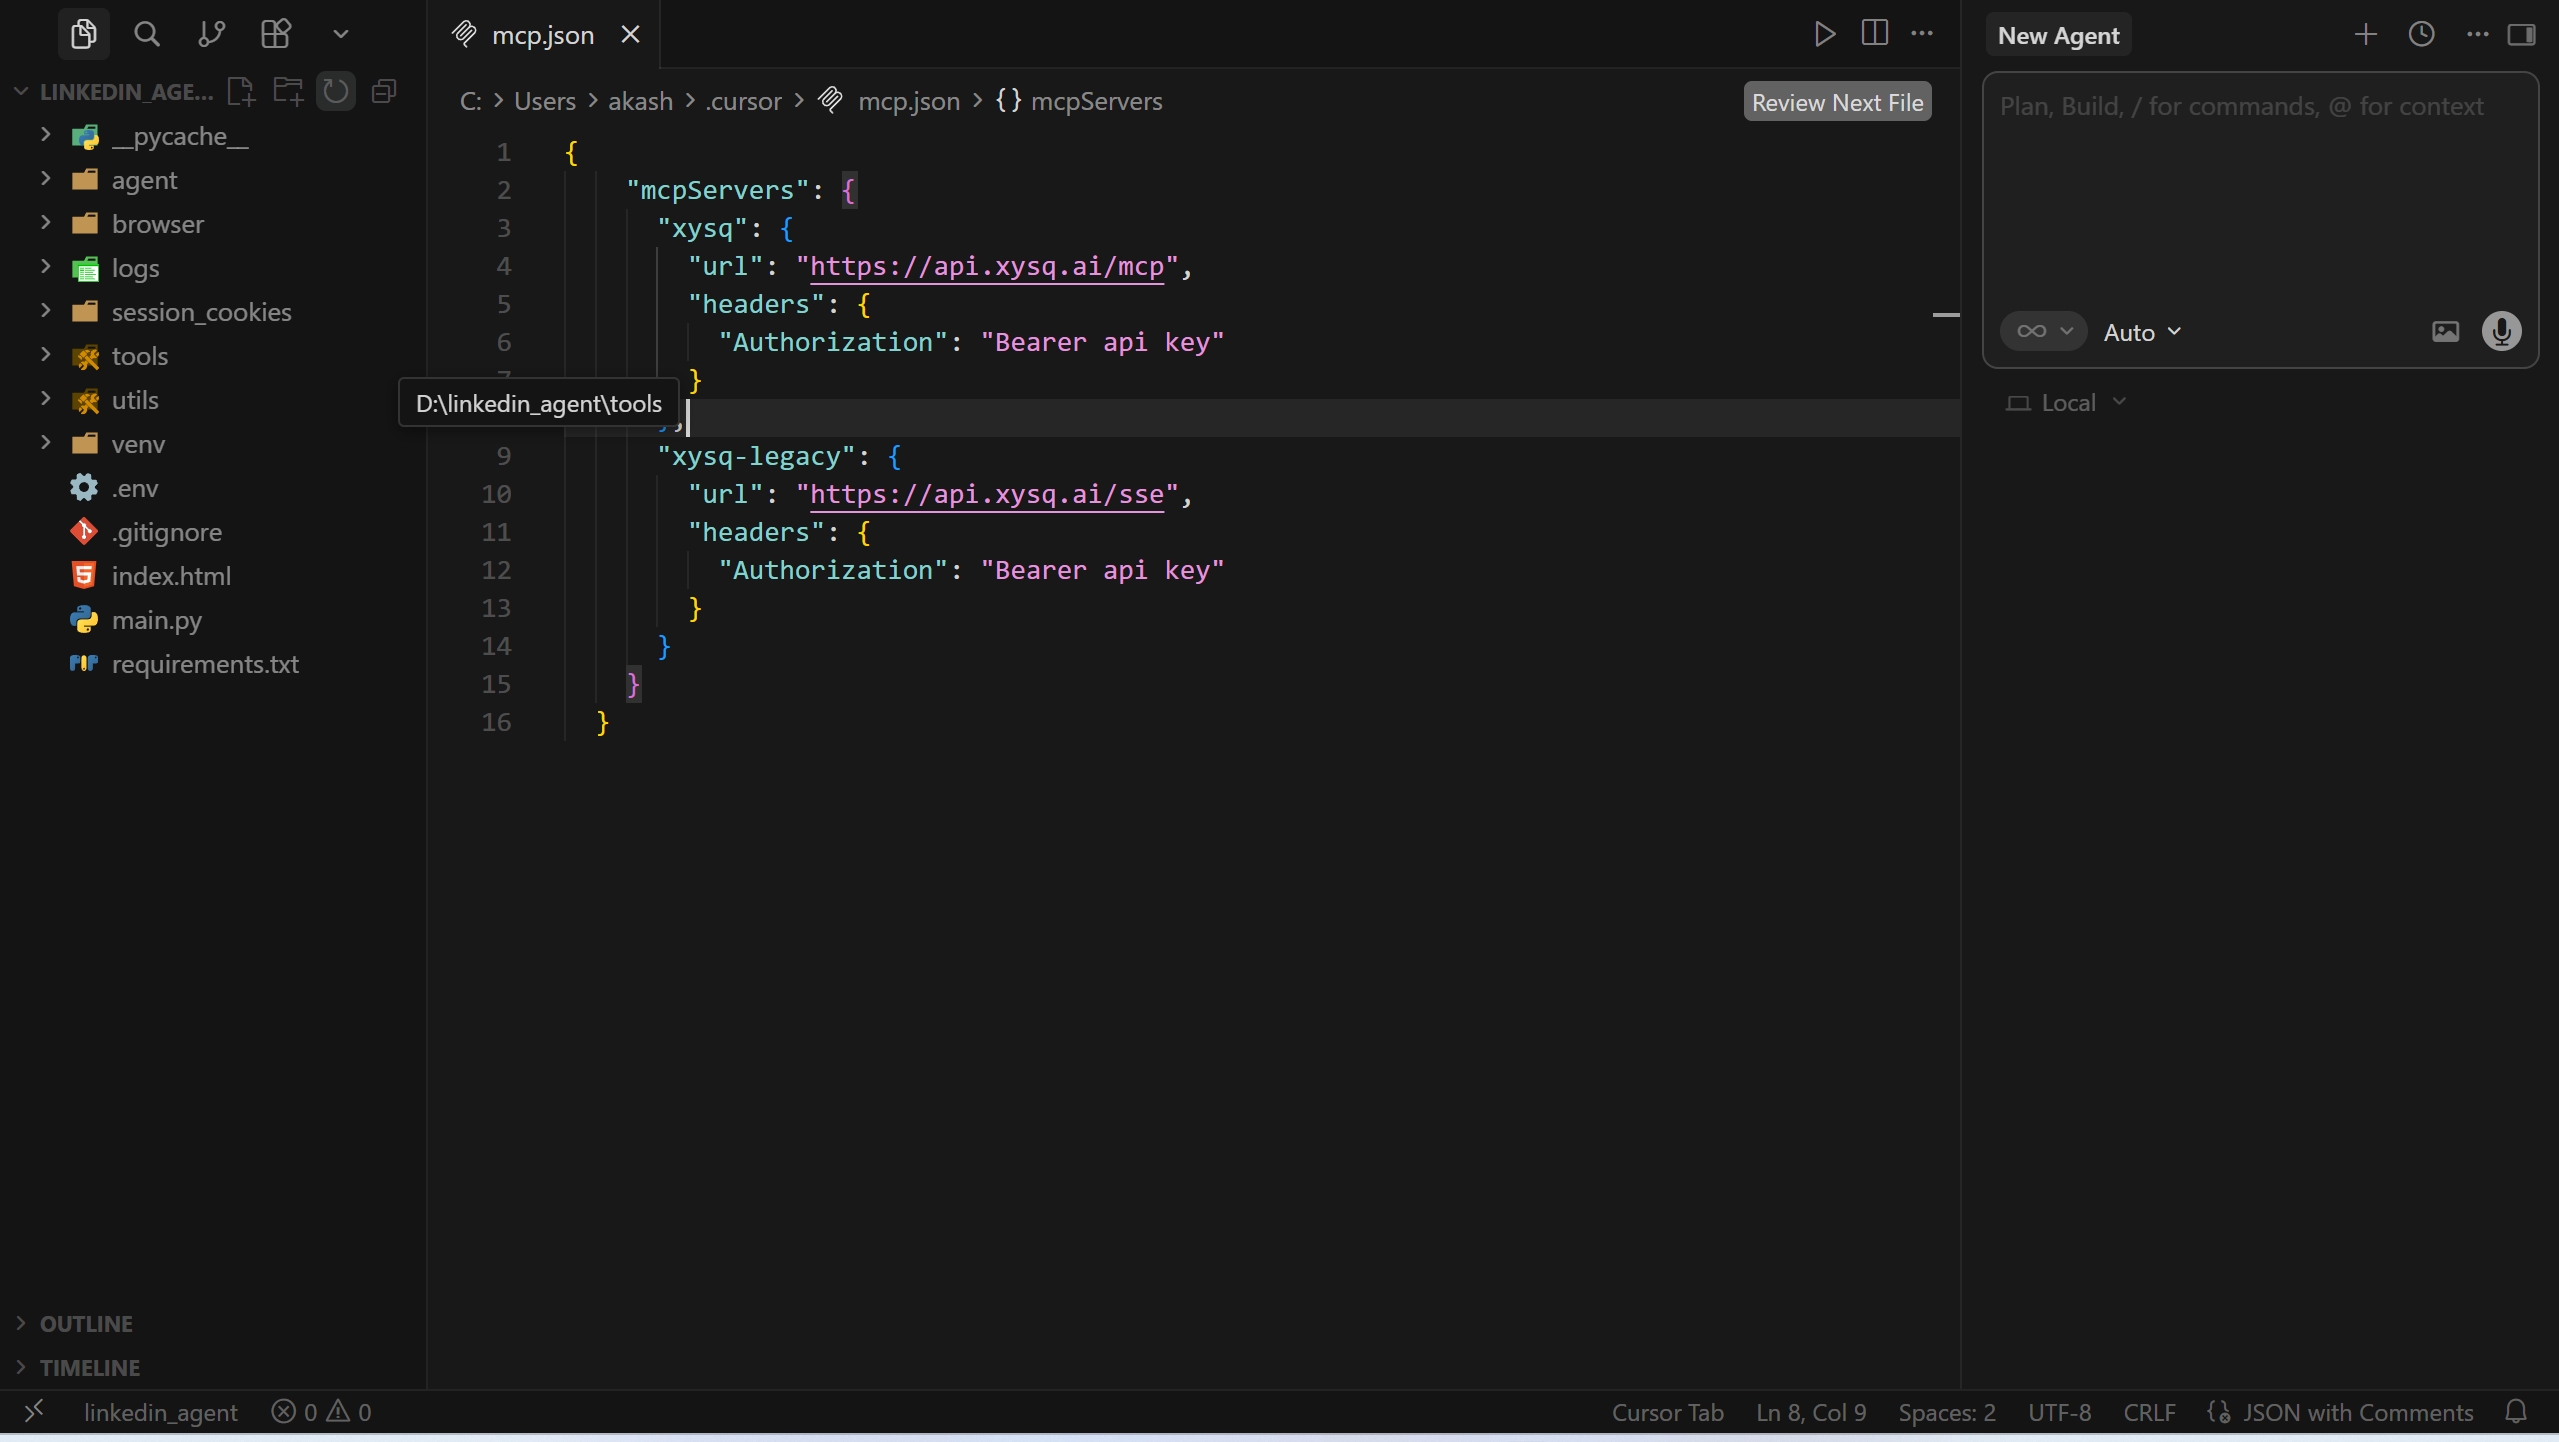
- Open Cursor and navigate to
mcp.json. You can find it at:
| OS | Path |
|---|---|
| Windows | %USERPROFILE%\.cursor\mcp.json |
| macOS / Linux | ~/.cursor/mcp.json |
- Paste the copied schema into
mcp.jsonand save.
Pinning Cursor to a team vault
By default the connection above gives Cursor access to your personal vault. To make Cursor work only against a specific team’s vault — useful when you want a workspace dedicated to one team — point the URL at the team-pinned endpoint:YOUR_TEAM_ID with the team’s UUID (find it in Team Settings at app.xysq.ai or by asking the agent List my xysq teams. from a personal connection).
On a team-pinned connection:
- Every memory action routes to that team’s vault — no per-call
team_idneeded. - Personal-vault writes and reads are blocked; the agent cannot leak conversation content into your personal memories.
- Personal tools like
memory_tags,skill_sync, andlist_teamsare disabled. - You still authenticate with your own API key — your role on the team determines what you can do (
roreads,rwwrites,admindeletes).
xysq-acme, xysq-platform, xysq for personal) to switch contexts without editing the file.
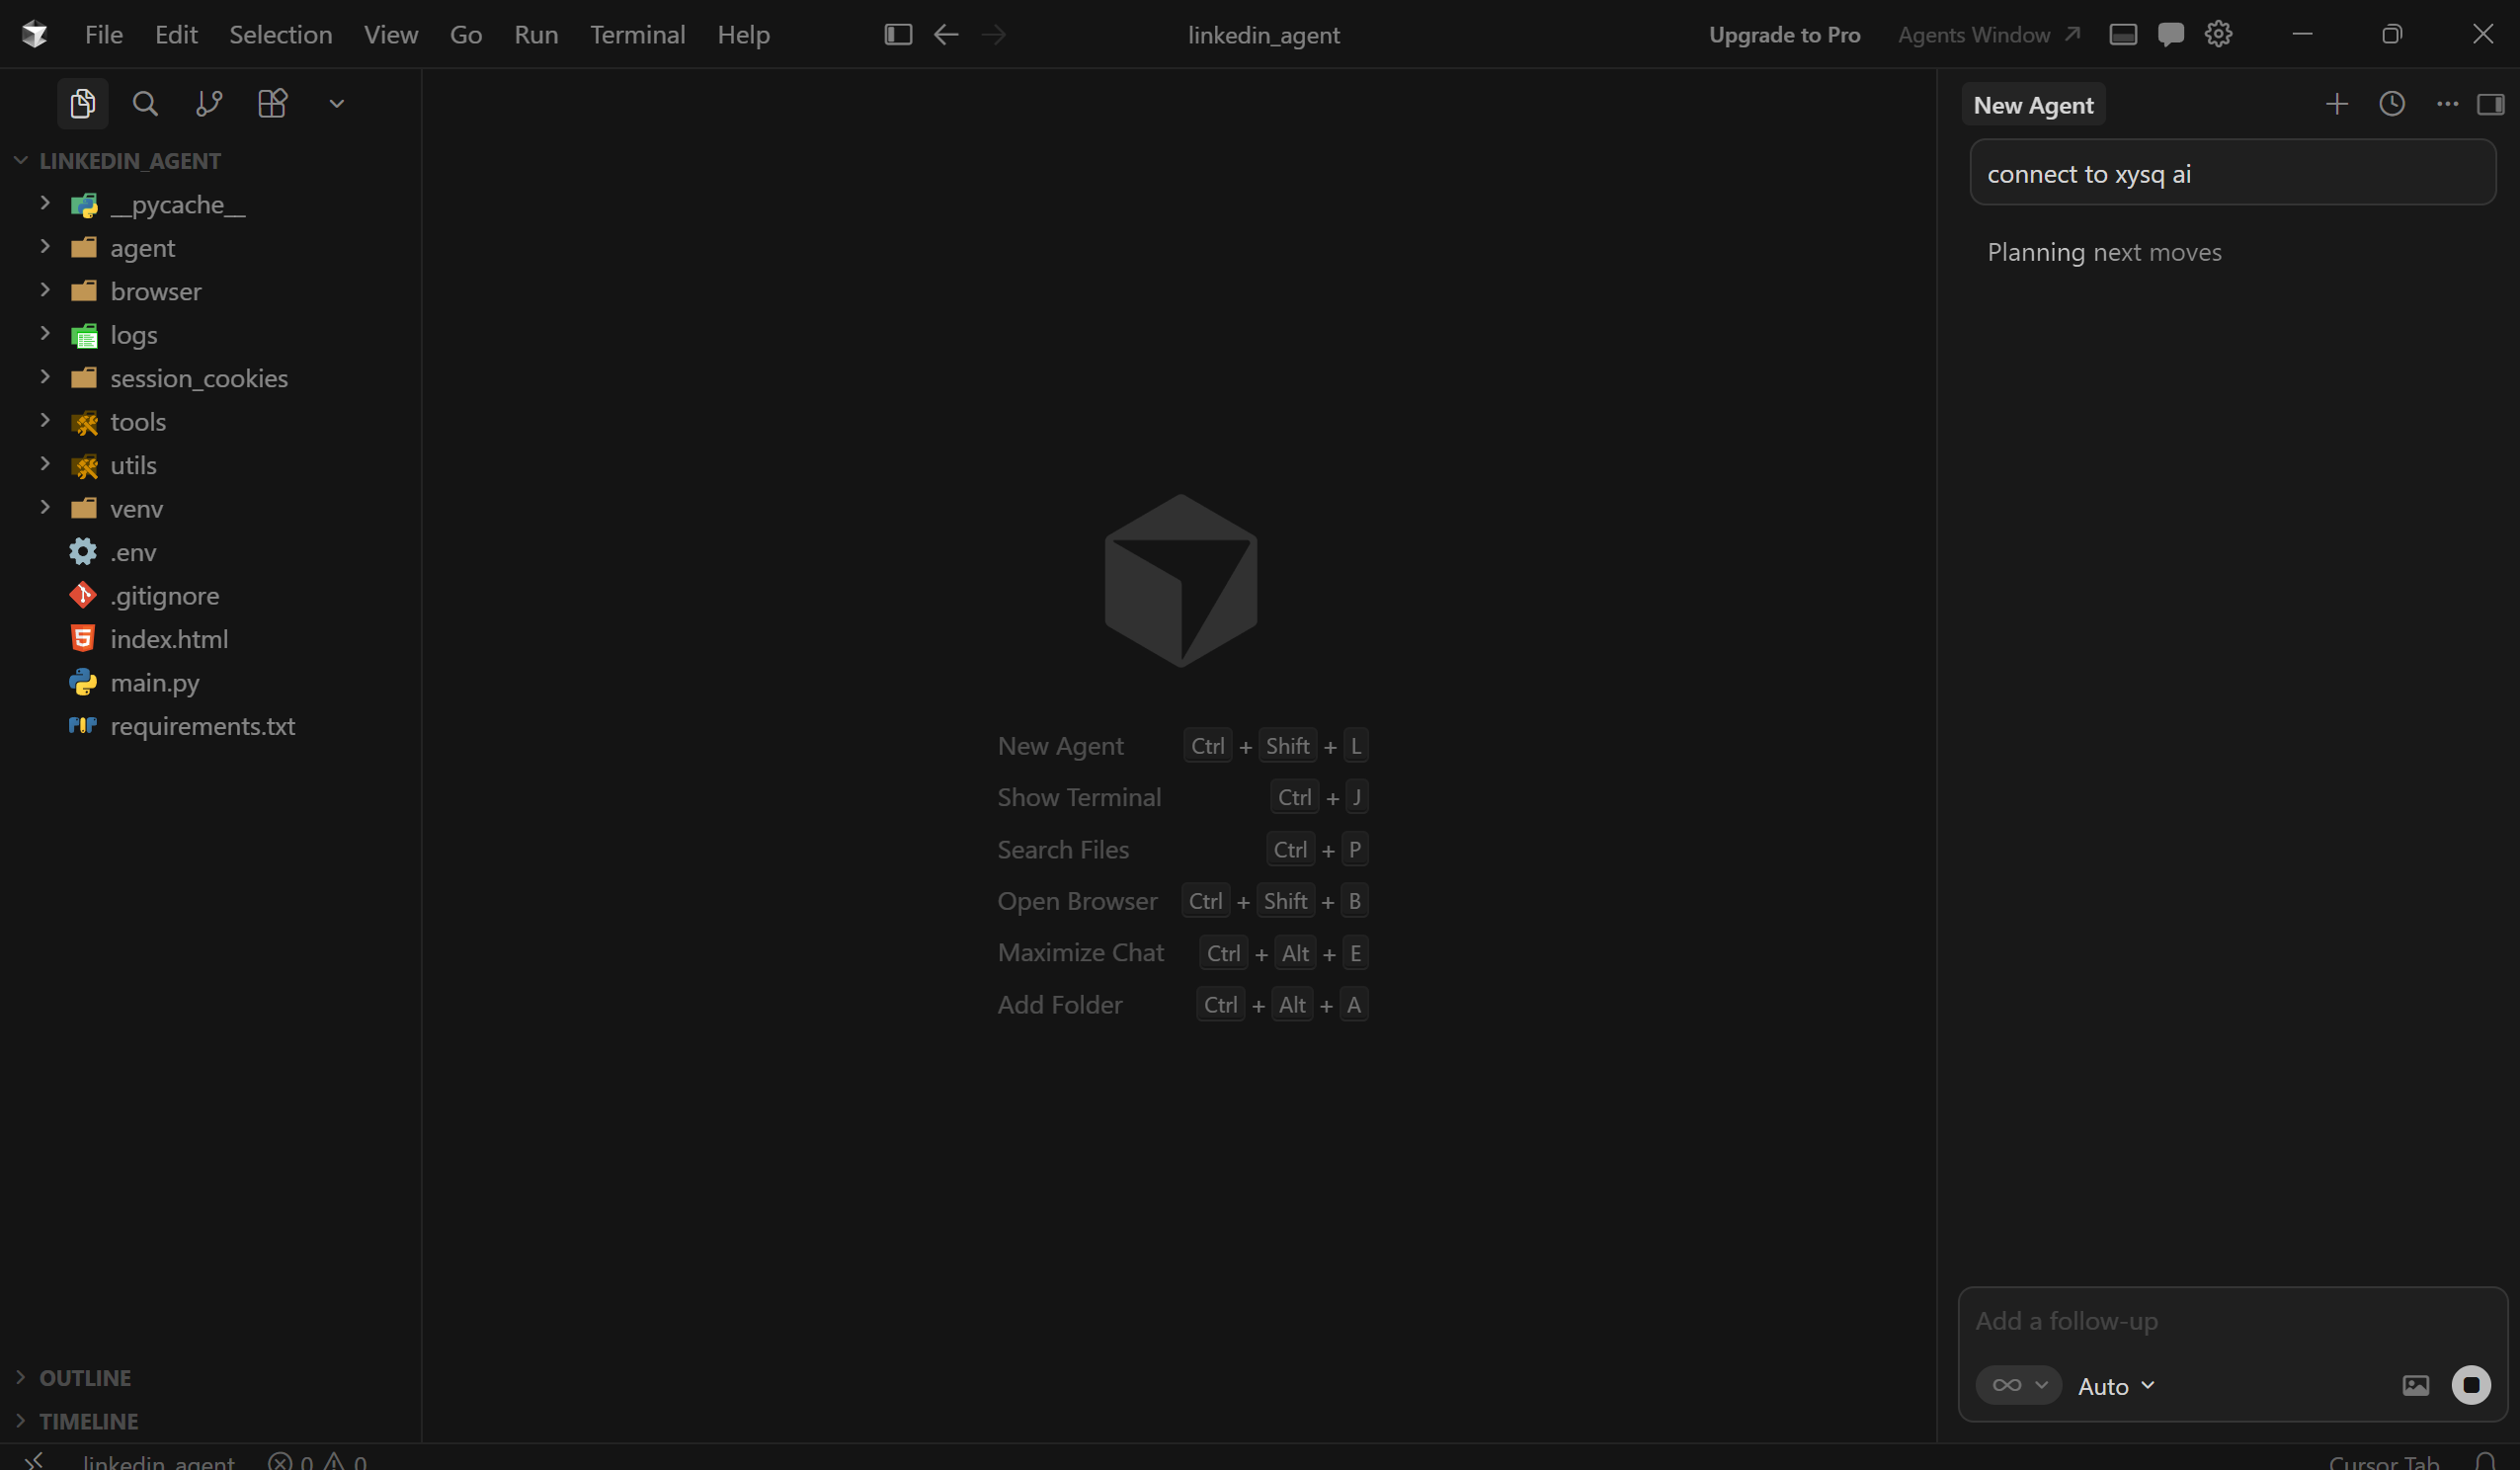
Step 4 - Connect from Cursor
- Open the Agent tab in Cursor.
- Type:
Adding Memories
Once connected, you can ask the agent to remember, retain, or delete anything across future sessions:Video Walkthrough
Troubleshooting
| Problem | Fix |
|---|---|
| Server never connects | Confirm the URL and API key are copied exactly from the xysq dashboard. Check VPN or firewall rules for HTTPS to the MCP host. |
| Repeated auth prompts | Make sure you finished the browser approval step. If the problem persists, remove and re-add the MCP server, then authenticate again. |
| Wrong workspace scope | Use the global ~/.cursor/mcp.json if you want xysq in every project. Use .cursor/mcp.json inside a repo only if you want to scope it to that project. |
| API key not working | Regenerate the key from the xysq dashboard and update the Authorization header in your mcp.json. |
| Schema paste breaks JSON | Validate your mcp.json with a JSON validator - a missing comma or brace will silently prevent the server from loading. |